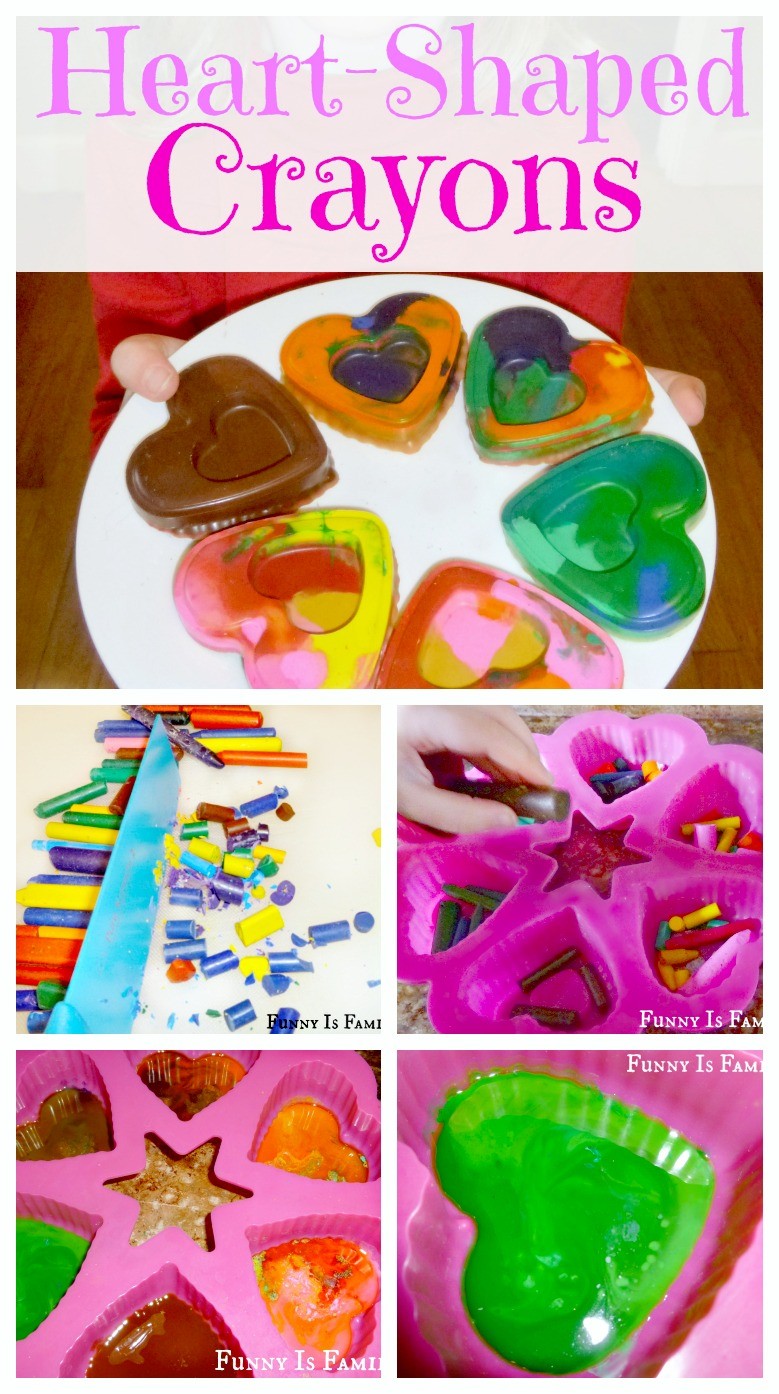
My kids always get new crayons for Christmas, so in January I’m looking for ways to get rid of the piles and piles of broken crayons in our house. Last year, I found this cute and easy craft on Pinterest, and decided to make heart-shaped crayons to give to my kids’ classmates for Valentine’s Day. They were crazy easy, so we’re making them again this year!
The hardest part of this project is peeling the paper off of the crayons. My kids are forever peeling wrappers, so I thought they would love this task. They did not. They complained, and quit after about three crayons, leaving me to curse them under my breath while I peeled, peeled, peeled. This year, I took the advice of Amy at The Idea Room, and soaked the crayons in cold water for a few minutes, and the wrappers practically jumped off the crayons.
After peeling the crayons, we broke them into smaller bits. The kids liked this part. I had to use a knife for the fatter crayons. I wonder if those chubby crayons are just carrying a little winter weight, too? I’m not fat-shaming the rotund crayons, it’s just the bigger the chunks, the longer it takes them to melt.
Next, the crayon bits went into a heart-shaped mold. There are many heart-shaped silicone molds out there, and I found mine at Target for about $3. Make sure you get the kind that is heat resistant, because the ice cube trays look very similar, but will melt all over your oven. The one I have can be used to make larger molds by setting it right side up, or smaller molds by turning it upside down and using the heart-shaped indent on the bottom. I’ll show both today.
Here it is, between batches of melty crayon goodness.

Upside down.

And right-side up.

You can either group your colors or throw them into the molds haphazardly. I’m partial to the color grouping, but my kids like the mixed color look, so we have both in our batches. Cook the crayons for about 10 minutes at 300 degrees, or until all the bits are melted.


Let the crayons cool about 15 minutes or so.

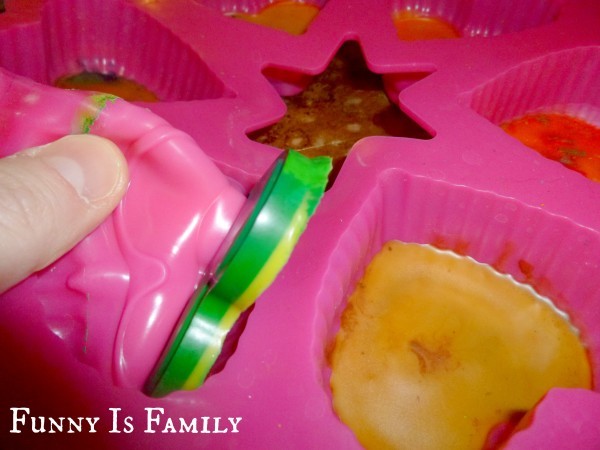
Pop the crayons out of the mold. They come out super easy. Don’t make fun of my thumb in this picture. I’m not a hand model.

Now the crayons are ready to be given as gifts, or shared with your neighbors and friends so you can brag about how crafty you are. They never have to know how easy it is, unless they read this blog, which they really should.
This is AWESOME!! This might be the first Pinterest craft that, when a regular person does it, it comes out perfectly. Wait…not that you are “regular”. You are obviously an extraordinary crafting goddess…but you know what I mean. I just may have to give this a shot. Woot! –Lisa Ps. So glad you gave the caution about not picking an ice cube tray because I would TOTALLY do something like that.
I was THIS CLOSE to trying it with ice cube trays. It would have smelled AWESOME.
Your crafty side scares me…and motivates me. I could do this, right?? My kids would LOVE it!
You can do this. I won’t tell anyone you’re crafting. Your kids WILL love it!
Now this looks like loads of fun. I will try this for all the littles in our family~
If I can do it, you know you can!
yours turned-out so well! we made them also, and while I was happy to have the broken crayons used up, I tried not to dwell on the fact that I had just turned crayons into.. more crayons.
We gave all of ours away, so I didn’t have to dwell on that for too long. “Here, enjoy these repurposed broken crayons.”
CUTE! Even uncrafty me could do this. Thanks!
Your boys will love breaking the crayons!